
Looking to upgrade your kitchen by adding an over-the-range microwave? Great choice! Installing a microwave above your stove not only saves counter space but also integrates the appliance better into your kitchen layout. The process involves a bit of DIY spirit and some basic tools. You’ll need to start by locating the studs in your wall, as these will support the weight of the microwave oven through the mounting bracket. A stud finder can be very handy here to ensure your install is secure.
How to Mount Over the Range Microwave Oven? To mount an over-the-range microwave oven, start by securing the mounting plate to the wall studs. Attach the microwave to the plate and use screws to secure it. Ensure the vent aligns properly if it’s vented, and make final adjustments for a snug fit.
You’ll also need to consider the placement of the cabinet above your stove. The space between your stove and the microwave should comply with the manufacturer’s specifications for safety and functionality. Next, you’ll use a template (usually provided with the microwave) to mark where you need to drill holes in the upper cabinet. This is where you’ll attach the bracket and possibly make adjustments for the vent and power cord. Make sure you have screws, bolts, and tools like a drill ready. Remember, a solid installation is key to ensuring that your new appliance is both functional and safe. Let’s get started on this project and make your kitchen more efficient and modern!
Need Help with Your New Over-the-Range Microwave? Here’s How to Install It Step-by-Step
Installing a new over-the-range microwave can dramatically improve your kitchen’s functionality and aesthetics, turning it into a more efficient space. Whether you’re replacing an old model or installing a microwave for the first time, this guide will walk you through each step. Remember, taking your time to follow the steps carefully will ensure a safe and effective installation.
Prep Your Space and Remove the Old Microwave
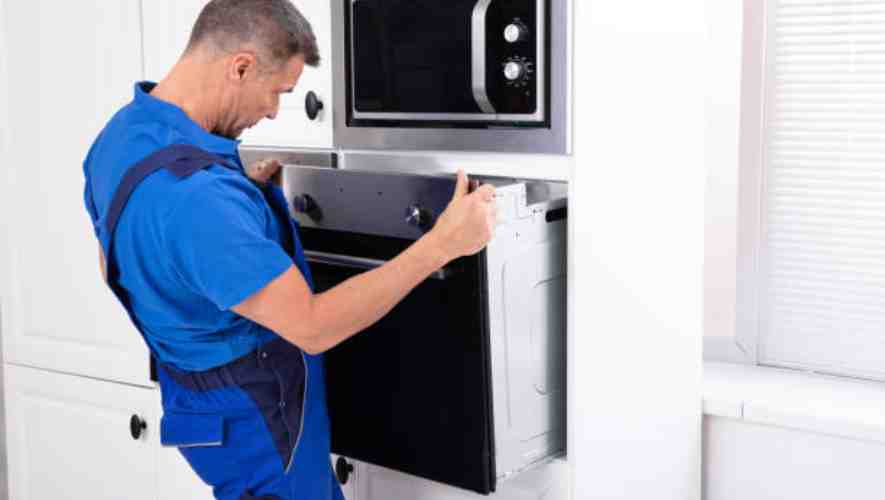
Before you bring in your new microwave, you’ll need to remove the old one, if it’s already there. First, ensure you’ve turned off the power to avoid any electrical hazards. Unscrew and carefully lower the old microwave from the mounting plate. It’s helpful to have an extra pair of hands during this step to avoid damage to your kitchen space or the appliance.
Check the Installation Area
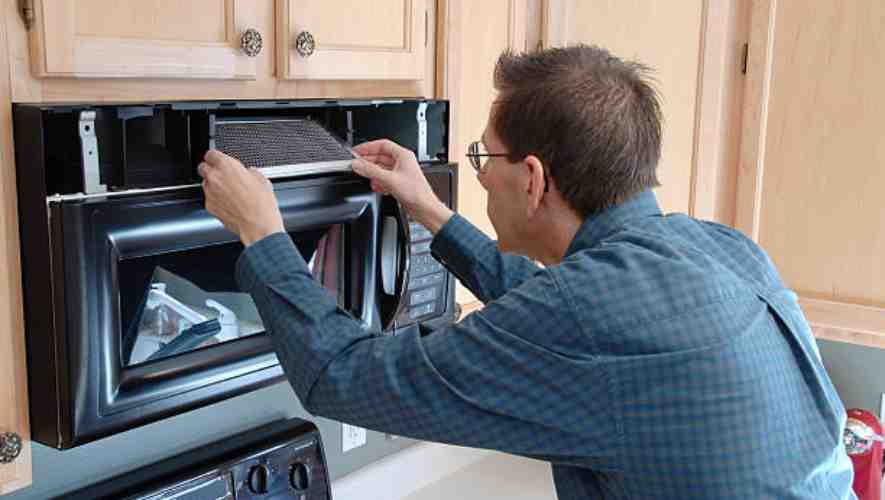
Once the old microwave is out, inspect the area for any damage on the wall studs or drywall that might need fixing. This is also a good time to clean the area and prepare it for the new installation. Verify the exhaust and ductwork if your new over-the-stove microwave will vent to the outside.
Align the Wall Template
Your new microwave should come with a wall template. Tape this to the wall following the manufacturer’s directions, ensuring it’s level. This template will guide you where to drill holes for the mounting plate and where the power cord will pass through. Marking the locations for wall studs is crucial here, as they will support the weight of the microwave.
Install the Mounting Plate
Attach the mounting plate to the wall studs using screws. Double-check that the plate is level because it will bear the weight of the microwave. If your studs don’t align with the holes on the plate, you might need to use heavy-duty drywall anchors.
Connect the Vent and Power Setup
If your microwave vents externally, attach any necessary ductwork before you hang the microwave. Also, route the power cord through the designated hole in the bottom of the cabinet above.
Lift and Secure the Microwave
With someone to help you, lift the new microwave up and hook it onto the mounting plate. Once it’s securely attached, use screws to fix it from underneath, through the bottom of the cabinet. Follow the installation instructions to ensure every screw and bolt is tightened properly for safety.
Perform a Final Check
Once the microwave is installed, reconnect the power and test it to make sure it’s functioning correctly. Check the alignment and stability one last time to ensure everything is set up well.
Enjoy Your New Kitchen Upgrade
Congratulations on completing your DIY project! With your new over-the-range microwave installed, your kitchen is now more efficient and modern. Enjoy the convenience and be proud of the work you’ve done.
Conclusion
As you wrap up the installation of your new over-the-range microwave, take a moment to appreciate the sleek addition to your kitchen. Mounting a microwave might have seemed daunting at first, but by following the steps—marking stud locations, aligning the template to the wall, drilling pilot holes, and securing the mounting bracket with toggle bolts—you’ve not only enhanced your kitchen’s functionality but also its style.
With your new microwave securely in place, remember to remove the template from the wall, clean up any debris with a drop cloth, and run the power cord to the appropriate receptacle. Using state-of-the-art color transfer technology, the custom-designed graphic printed in vivid color and high resolution on the box of your microwave added a touch of excitement to the unboxing experience, reflecting the enhanced cooking experience you’re about to enjoy.
Now, it’s time to explore the myriad possibilities that your microwave opens up—from quick recipes that save time to kitchen hacks that simplify cooking. Whether it’s reheating leftovers to perfection or venturing into new culinary creations, your microwave is set to revolutionize how you cook, proving itself as an indispensable tool in your daily life. Remember, the utility and joy that come from using your microwave will reflect the care and precision you took in installing it. Enjoy the convenience and explore all the ways your new kitchen companion can help enhance your cooking adventures.
Frequently Asked Questions (How to Mount Over the Range Microwave Oven)
How are over-the-range microwaves mounted?
Yes, you can install an over-the-range microwave against a wall, provided there is sufficient clearance as per the manufacturer’s guidelines. Ensure there’s enough space for ventilation and the door can open freely without hitting the wall or nearby cabinets.
Do over-the-range microwaves come with a mounting bracket?
Yes, over-the-range microwaves typically come with a mounting bracket included in the package. This bracket is essential for securing the microwave above the stove, providing space efficiency and integrating it into the kitchen’s design.
How do you mount a microwave over-the-range without cabinets?
To mount a microwave over-the-range without cabinets, use a microwave mounting kit compatible with your model. Install a wall bracket following the kit’s instructions, ensuring it’s level and securely anchored to wall studs. Hang the microwave on the bracket, then connect the vent and power.
Can you install an over-the-range microwave against a wall?
Yes, you can install an over-the-range microwave against a wall, as long as there is sufficient space for ventilation and it aligns with the manufacturer’s installation requirements. Proper clearance must be ensured to prevent overheating and maintain efficiency.
