
Installing a new GE microwave over the range in your kitchen can seem like a daunting task, but it doesn’t have to be! With the right instructions and a bit of know-how, you can make this project a breeze. First, you’ll want to ensure you have all the necessary information about your microwave model and the cabinet space where you plan to install it. This guide is designed to help you see how easy it is to get your new appliance up and running without the risk of injury or property damage.
How to Install GE Over the Range Microwave Oven? To install a GE over-the-range microwave oven, first, ensure the space above the stove meets clearance requirements. Then, mount the bracket, plug in the electrical outlet, and secure the microwave onto the bracket. Finally, test to ensure proper functionality.
Remember, installing a microwave is not just about making it fit; it’s also about ensuring it works safely without any loss. It’s important to follow the instructions carefully to avoid any mishaps that could lead to damage or create additional costs. So, grab your tools, and let’s get to work on this simple yet essential home improvement task. Also, keep in mind that this is a two-person job, so you’ll need one other person to help you out. With these easy steps, you’ll see your new GE microwave installed over the range in no time, transforming your kitchen space and making meal prep easier.
Easy Steps to Install Your GE Over-the-Range Microwave Oven: A Quick Guide
Getting Started: What You’ll Need
Before diving into the installation of your GE over-the-range microwave oven, let’s make sure you have everything you need. First, gather your tools and materials. You’ll typically need a drill, screwdriver, measuring tape, and a level. Make sure you also have all the mounting hardware that came with your microwave. It’s important to use the specific tools recommended for this type of job to avoid any potential issues.
Step by Step Installation Guide
Step 1: Prep the Area
Make sure the space above your range is clear and that the electrical outlet is accessible. Measure the space to ensure your new microwave will fit perfectly. Double-check these measurements because accuracy here is crucial.
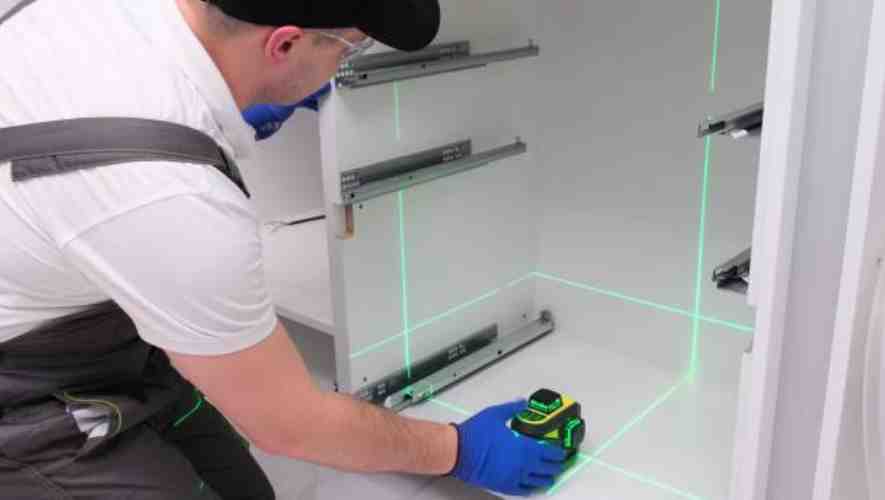
Step 2: Install the Mounting Plate
The mounting plate will be attached to the wall behind where your microwave will sit. It’s important that this plate is level and securely attached to wall studs. This plate will bear the weight of the microwave, so take your time to get this step right.
Step 3: Connect the Venting System
If your model vents to the outside, attach the venting system. Please make sure that everything aligns correctly and is securely fastened. This is crucial to ensure that the microwave functions well and safely.
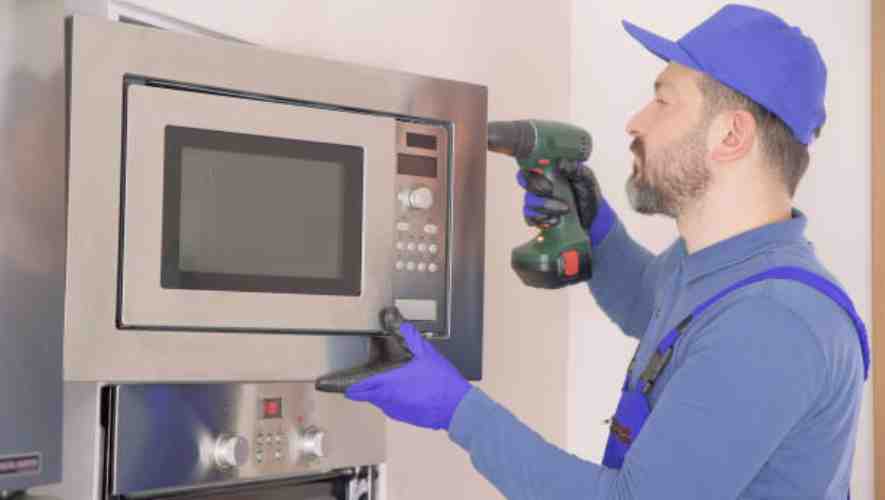
Step 4: Lift the Microwave
This is a two-person job, so please do not try to lift the microwave by yourself. Carefully lift the microwave and hook it onto the support tabs on the bottom of the mounting plate.
Step 5: Secure the Microwave
Once the microwave is in place, open the door and use screws to secure the top of the microwave to the cabinet above. Ensure these are tight to prevent any movement.
Step 6: Final Checks
Plug in your microwave and test it to make sure it operates correctly. Check that the light and fan function as expected and that the microwave heats.
Safety and Disclaimer
Please note, while this guide provides a step-by-step approach to installing your GE microwave oven, it is crucial to follow all safety guidelines to prevent any property damage or injury incurred as a result of the installation. This video and guide assumes no liability for property damage or injuries and recommends safe practices when working with tools seen or implied.
Conclusion
Now that your GE over-the-range microwave oven is installed, you’re all set to explore a world of culinary creativity. This versatile appliance is not just for reheating leftovers; it can be your go-to for everything from quick recipes to clever kitchen hacks. Whether you’re melting chocolate for a decadent dessert or popping corn for movie night, your microwave is ready to simplify your cooking and inspire new dishes.
Remember, while we’ve provided guidance on installing your microwave, the use of this information and any tools or equipment herein is the sole responsibility of the user. This guide does not create any expressed or implied warranty or guarantee of any particular result. Every kitchen is unique, and results can vary depending on a multitude of factors.
Should you ever encounter any issues or if anything doesn’t seem right, please don’t hesitate to consult the product manual or reach out to a professional. Take this opportunity to experiment with your new microwave, discovering all the ways it can enhance your cooking experience. Enjoy your culinary journey with your new GE microwave oven!
Frequently Asked Questions (How to Install GE Over the Range Microwave Oven)
How do you install an over-the-range microwave?
To install an over-the-range microwave, first secure the mounting plate to the wall, ensuring it’s level and properly anchored. Next, connect the vent and power, then lift the microwave onto the mounting plate, securing it with bolts. Finally, attach the grease filter and turn on the power.
How do you install a microwave over-the-range without cabinets?
To install an over-the-range microwave without cabinets, use a wall mount bracket designed for microwaves. Securely attach the bracket to wall studs, ensuring it can support the microwave’s weight. Follow the manufacturer’s instructions for aligning and attaching the microwave to the bracket.
Do over-the-range microwaves have to be mounted?
Yes, over-the-range microwaves are designed to be mounted above your stove. This mounting is essential for their functionality as it combines a microwave with a range hood to save space and provide ventilation for your cooking area.
Do all GE microwaves use the same bracket?
Not all GE microwaves use the same bracket; the compatibility depends on the model and design specifications. It’s important to refer to the user manual or contact GE support to ensure the correct bracket is used for a specific microwave model.
